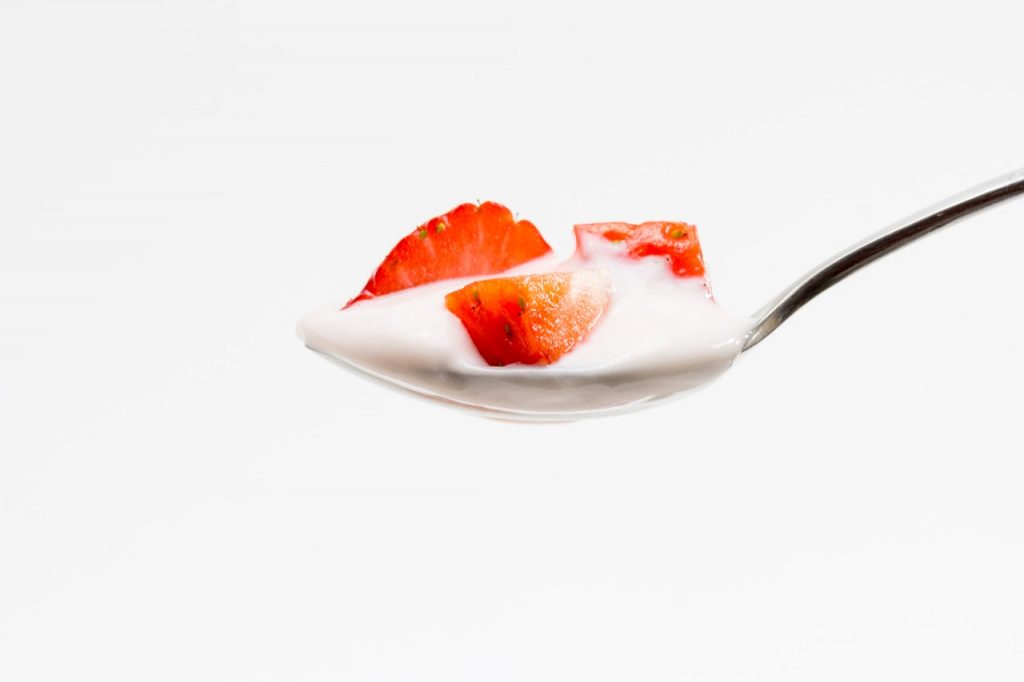
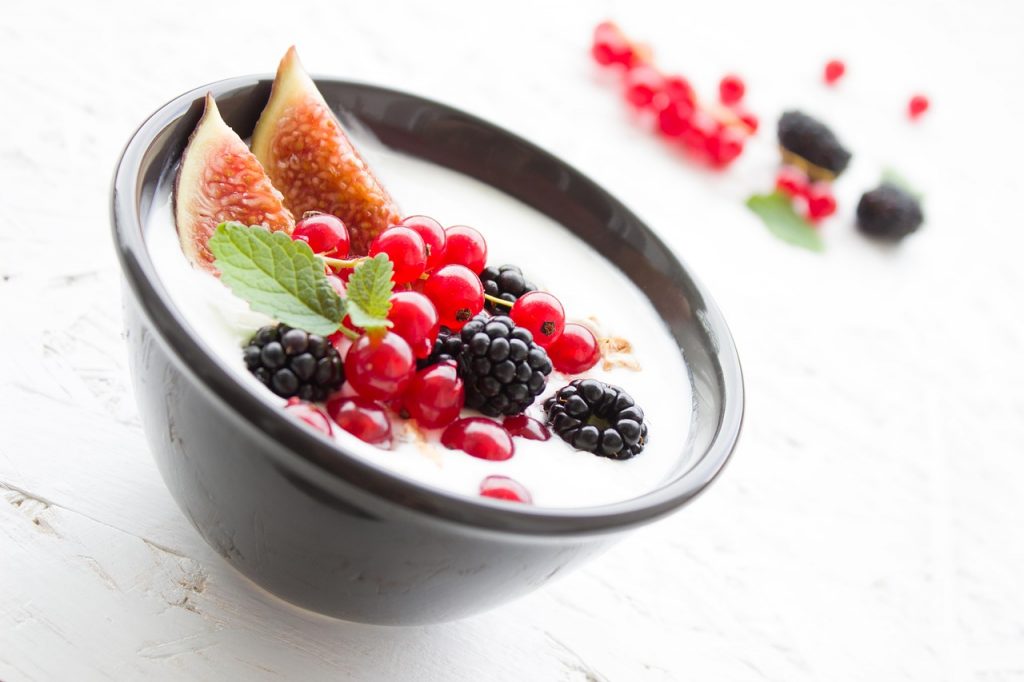
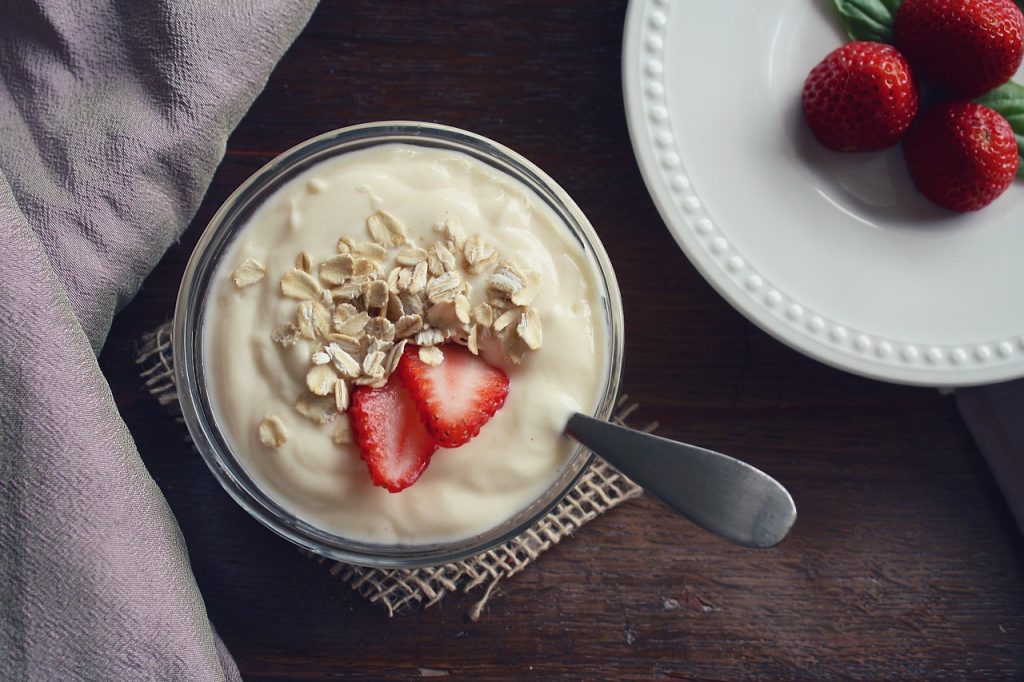
The best yogurt doesn’t come from the store–it comes from your very own kitchen. With as few as two ingredients, homemade yogurt can be made easily and affordably. If you’re ready to take the plunge, here are the simple steps to make your own homemade yogurt.
The Importance of Live Cultures
Without live cultures, yogurt wouldn’t be yogurt. Live and active cultures refer to the live organisms–Lactobacillus bulgaricus and Streptococcus thermophilous, that aid the fermentation of milk and transform it into yogurt.
Yogurt starters are blends of bacteria that will feed off the lactose in the milk. As this process occurs, lactic acid is developed which gives the familiar, tangy zip in yogurt. Like in other fermentation processes, these tiny helpers create the taste, texture, and the health benefits we look for in quality yogurt. Many enjoy the probiotics found in yogurt to stimulate digestive function.
Direct-set or single use cultures can be used to ferment one or more batches. Heirloom or reusable cultures can be used to ferment yogurt batches indefinitely by transferring cultures from one prepared yogurt to the next starter batch. Reusable cultures can typically be obtained from most store-bought yogurt. There are some different ways to acquire yogurt cultures for your yogurt starter as well as a variety of types—goat, sheep, soy, almond to name a few.
The National Yogurt Association sets industry standards and is a great resource for yogurt making at home.
The Equipment
The yogurt will need to be prepared over the stove. A large Dutch oven or heavy pan with a lid works best to heat the milk. This will insulate the milk and cultures during the fermentation process.
A candy thermometer clipped to the pot can help monitor the temperature, though an instant read would work fine too. It’s critical that the milk is heated to just under boiling–200 degrees. This ensures the milk will set firmly without separation of solids.
A whisk is best for introducing the yogurt to the cooled milk as it will help the cultures easily dissolve and disperse evenly.
Use a spatula to transfer prepared yogurt to small individual serving containers or large container for bulkier storage.
If you plan on make lots of your own yogurt, you might want to invest in a yogurt maker.
The Recipe
A basic yogurt recipe that’s no fuss and delivers results. It’s tangy, creamy; yogurt goodness made at home.
Yields around 2 Quarts
Ingredients:
- Whole Milk – ½ Gallon
- Yogurt (containing live cultures) – ½ Cup
Directions:
- Heat – Place a Dutch oven on the stove and heat to medium-high. Add the milk to the pot and warm to just below the boiling point (200 degrees). Stir gently while heating to avoid scorching and to ensure the milk doesn’t boil over the top.
- Cool – Once the milk reaches the desired temperature, remove from the stove and begin cooling. The milk should be cooled until it reaches a temperature between 112 to 115 degrees Fahrenheit. Occasionally give a stir to prevent a skin from forming along the surface. To speed the process, place the Dutch oven into an ice bath.
- Thin – Scoop a cup of the warm milk into a measuring cup filled with the yogurt. Whisk the mixture until smooth, and the yogurt has been dissolved directly into the milk.
- Whisk – Pour the yogurt and milk mixture into the Dutch oven containing the rest of the milk. Whisk gently to spread the yogurt evenly, inoculating the milk with the live cultures.
- Transfer – Place the lid onto the Dutch oven and put the whole thing into an oven that hasn’t been turned on. This cool, dark place provides the ideal location for the yogurt to set.
- Wait – Perhaps the most difficult stage when you’re itching for some yogurt. Let the yogurt sit overnight or at the very least, 4 hours, to allow the cultures to do their work. Try to avoid moving until it’s the desired consistency you prefer. The longer you wait, the thicker and more tart the yogurt becomes.
- Cool Again – Now that the yogurt is the right consistency, you want to think about containers. Mason jars work great at holding the yogurt. A pool of liquid may be sitting on the surface of the yogurt. This is fine–it’s called the whey. Either mix it back into the yogurt if you like it wet or drain it off if you like it creamier. The yogurt will keep in their containers for up to 2 weeks.